How do you add an NFT as a profile picture on Twitter? Technically, you can right click on the NFT and save the image as a JPEG and then upload it. But this does not prove that the NFT is actually yours.
Twitter Blue has a slightly longer process that confirms your ownership of the NFT and then displays it. How to use the feature to add an NFT as your Twitter profile picture.
How to use Twitter Blue to change your profile picture to an NFT
There are a few things you need to go through to get your NFT profile picture on Twitter. First, you need to access the option. Next, you need to connect to your wallet and select NFT. Here’s a look at how to go about it…
1. Change your current profile picture
To add an NFT as a Twitter profile picture, you need to go through the app. Even if you have the Twitter Blue subscription plan, the process is not visible on the browser version of the platform.
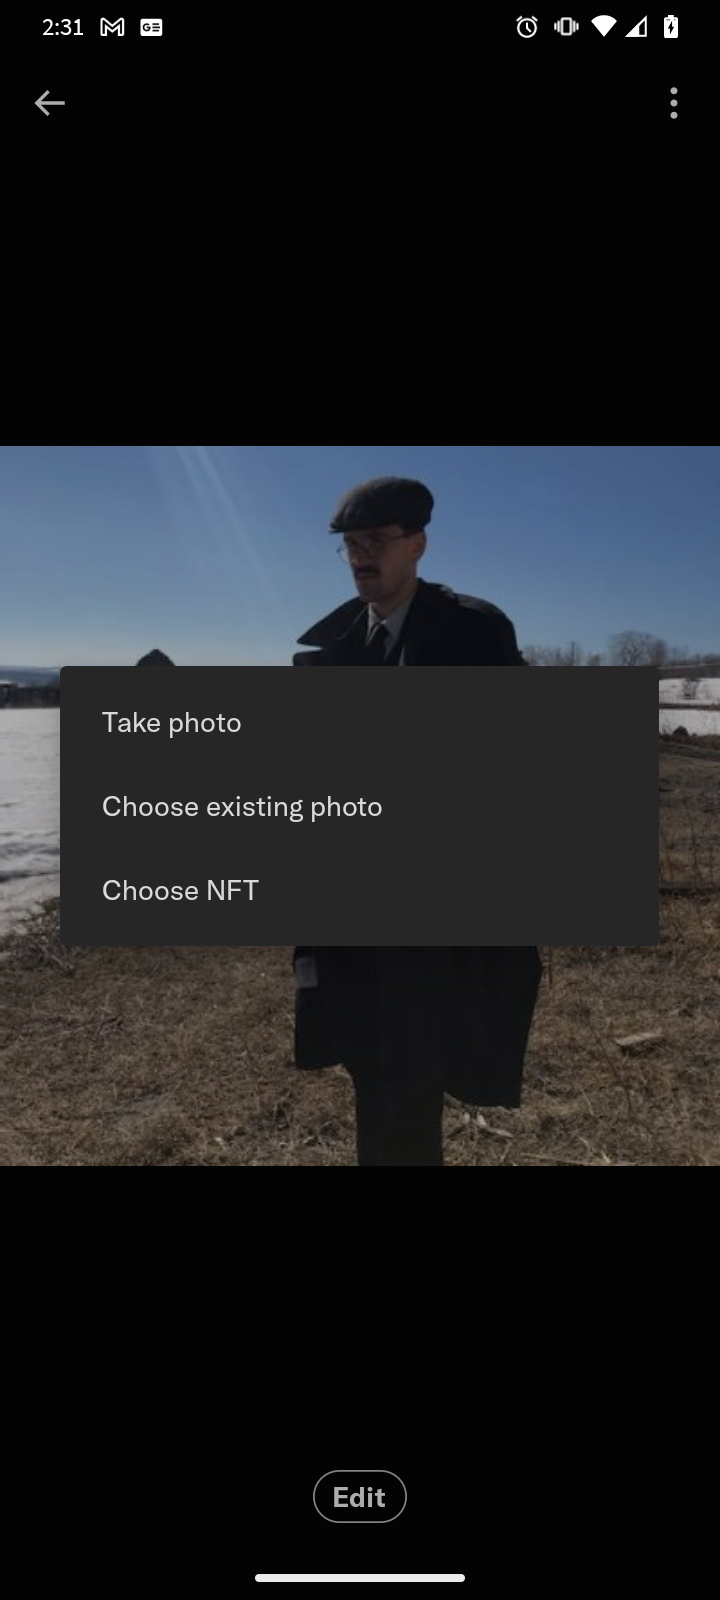
To get started, first go to your profile and select your profile picture. Below the enlarged view of your profile picture, a button is highlighted Edit.


Tap this and Twitter Blue will give you the options to Take a picture, Select an existing imageor Select NFT. Select Select NFT. If you don’t have Twitter Blue, only the first two options will appear when you edit your profile picture.
2. Connect to your preferred wallet


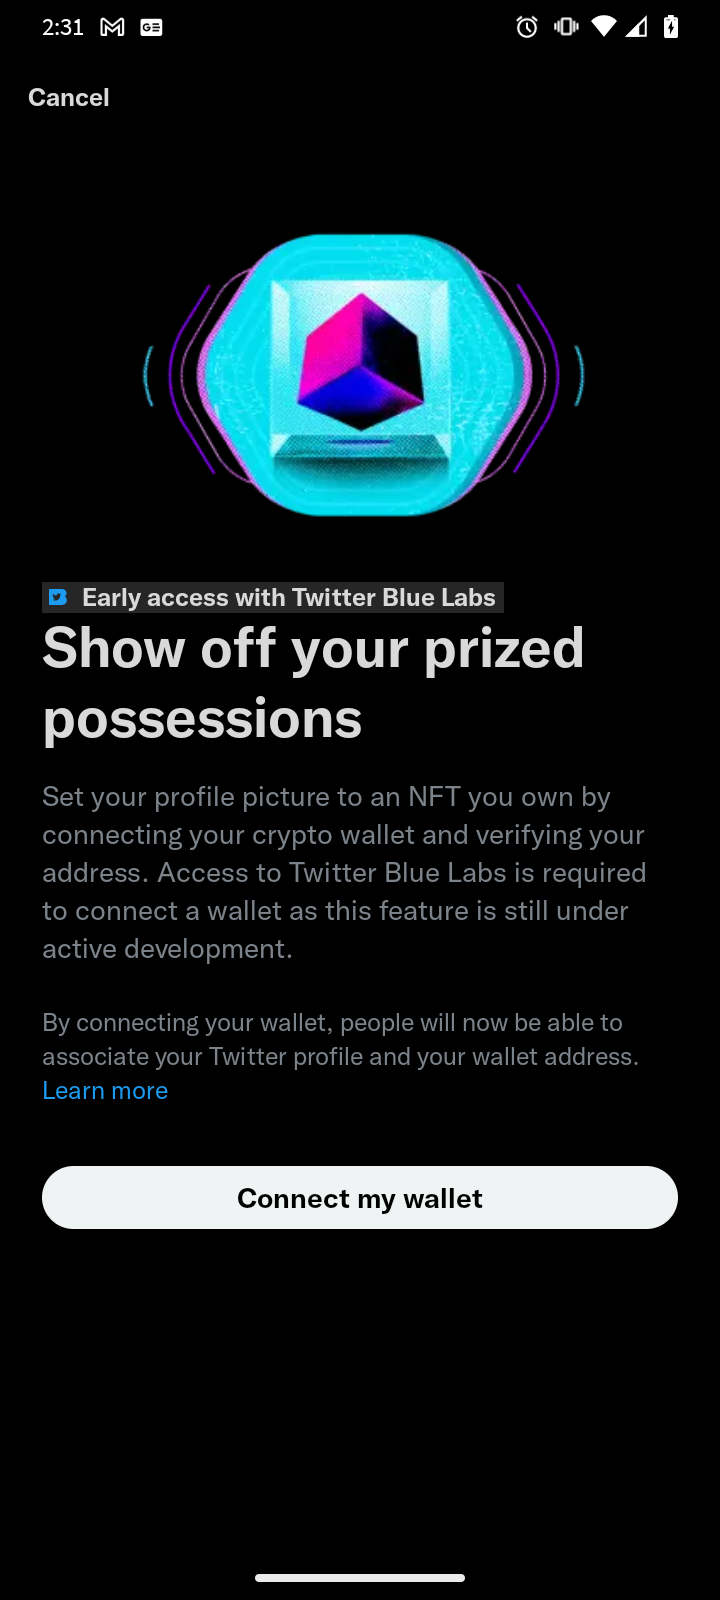
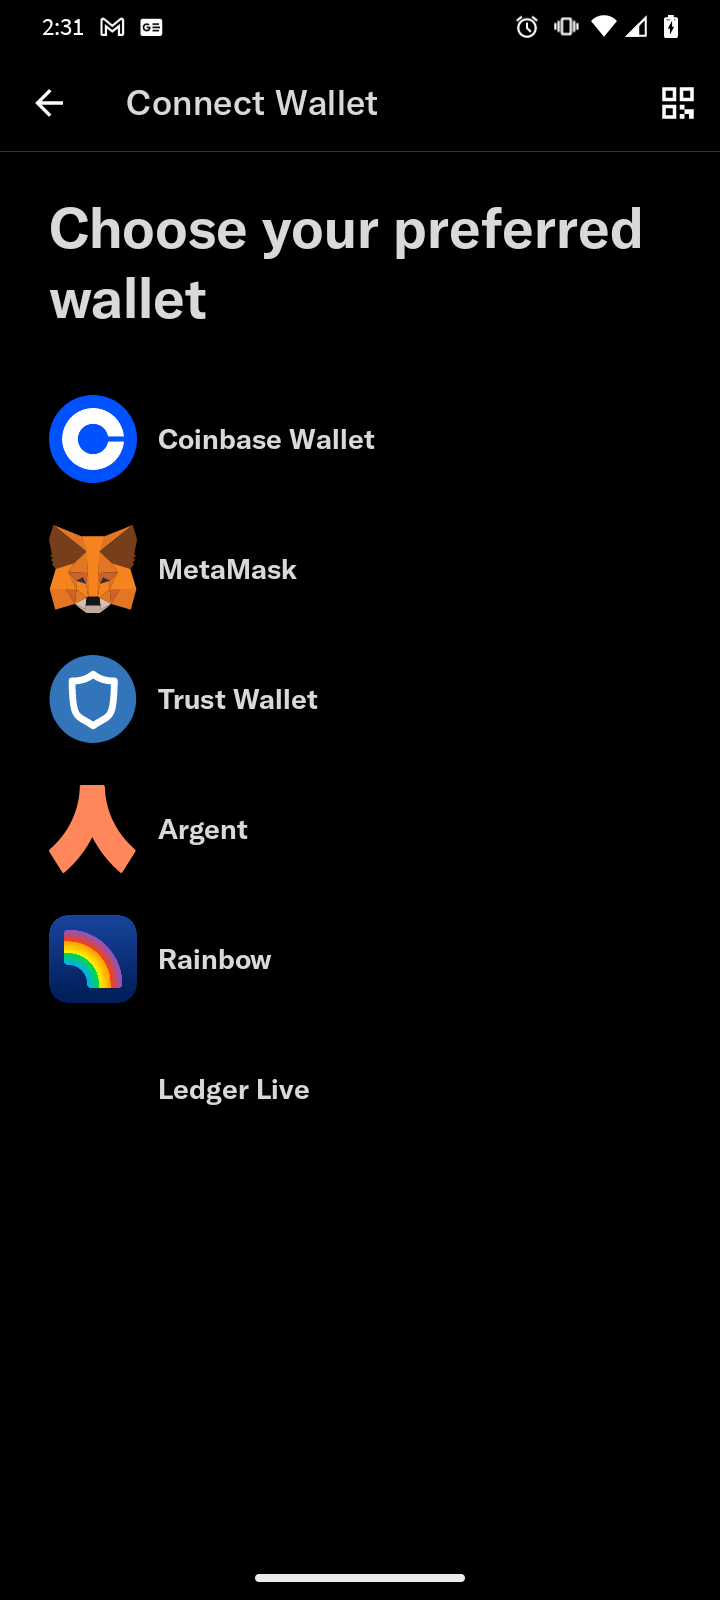
This will take you to a confirmation page that tells you more about NFT profile pictures on Twitter. At the bottom of this confirmation page is a Connect to my wallet button. Click this to continue. At the time of writing, the supported wallets are:
- Coinbase wallet
- MetaMask
- Trust Wallet
- Argent
- Rainbow
- Ledger Live
Unfortunately, the process of connecting a wallet to verify your NFTs is different from the process of entering a wallet address to receive Ethereum tips on Twitter. If you have a wallet listed for tips, you still need to connect to your wallet to view NFTs. If you connect the wallet for an NFT profile and want to receive tips, you still need to enter your wallet address.
The process going forward to connect your wallet may be slightly different depending on which wallet you connect. At the time of writing this article, a MetaMask wallet was connected, which meant taking additional steps to display an NFT in MetaMask.
3. Choose NFT for your profile picture
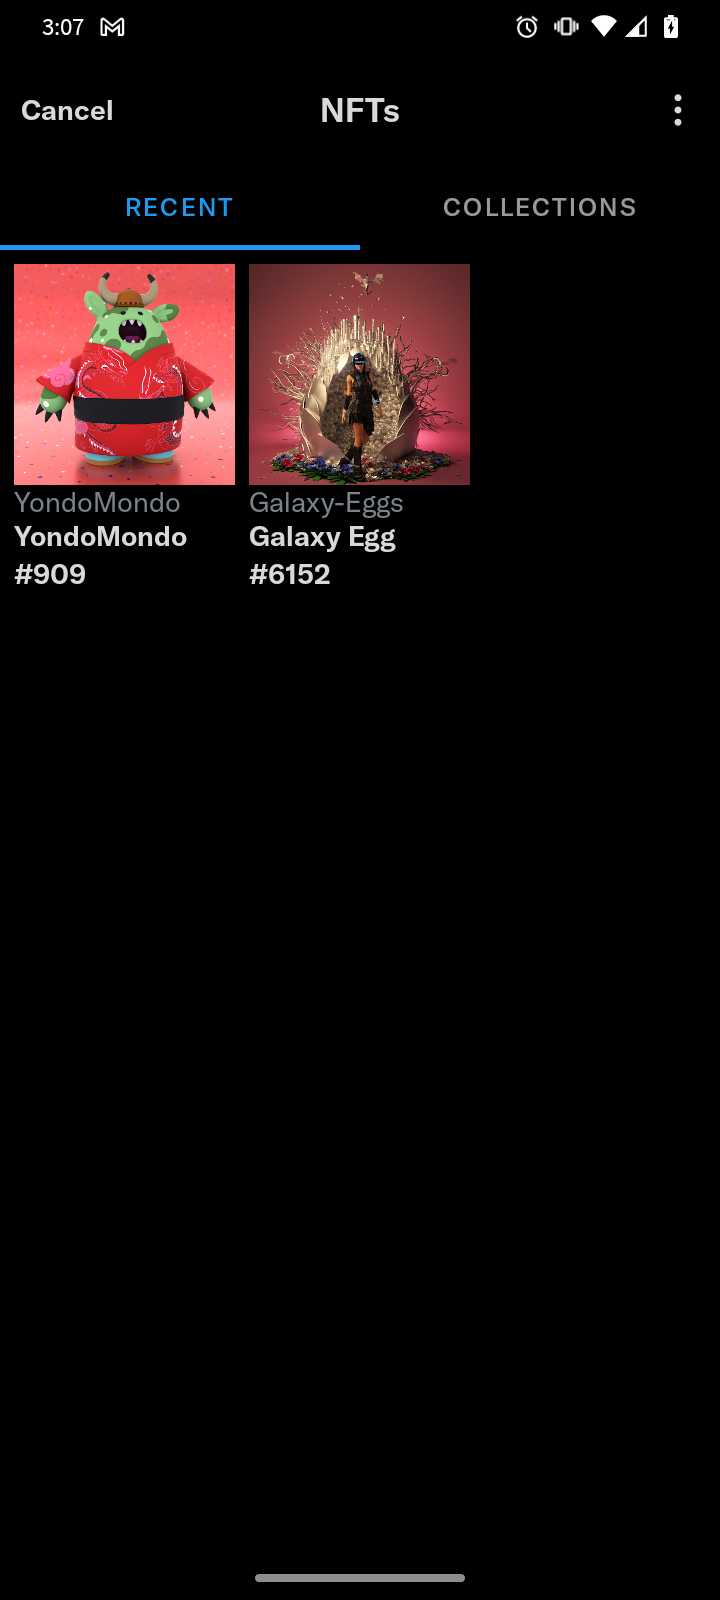
Once the wallet is connected, you need to select the NFT you want to display. Again, this process may look different depending on which wallet you use and how that wallet accesses your NFTs.
For example, the safest method of displaying NFTs on MetaMask involves importing them individually. This is a bit tricky, so you can save time by just importing the NFT you want to use as your Twitter profile picture.


Once you’ve selected the NFT you want to use as your profile picture, you’ll need to crop it. This is because verified NFT profile pictures appear as hexagons instead of the usual circle. That’s what this whole process has been about. You can make any NFT your profile picture on Twitter, but only NFTs you own can be displayed as hexagons.
Once you have the crop you want, select Finished from the upper right corner of the square.
Show your NFT on Twitter
Congratulations! Now everyone who sees your profile picture will know that you actually own the coolest NFT in your collection. And they’ll probably see the shiny blue check since you need Twitter Blue to verify an NFT profile picture. So, buckle up: you have an NFT and at least eight disposable dollars per month to show for it.


